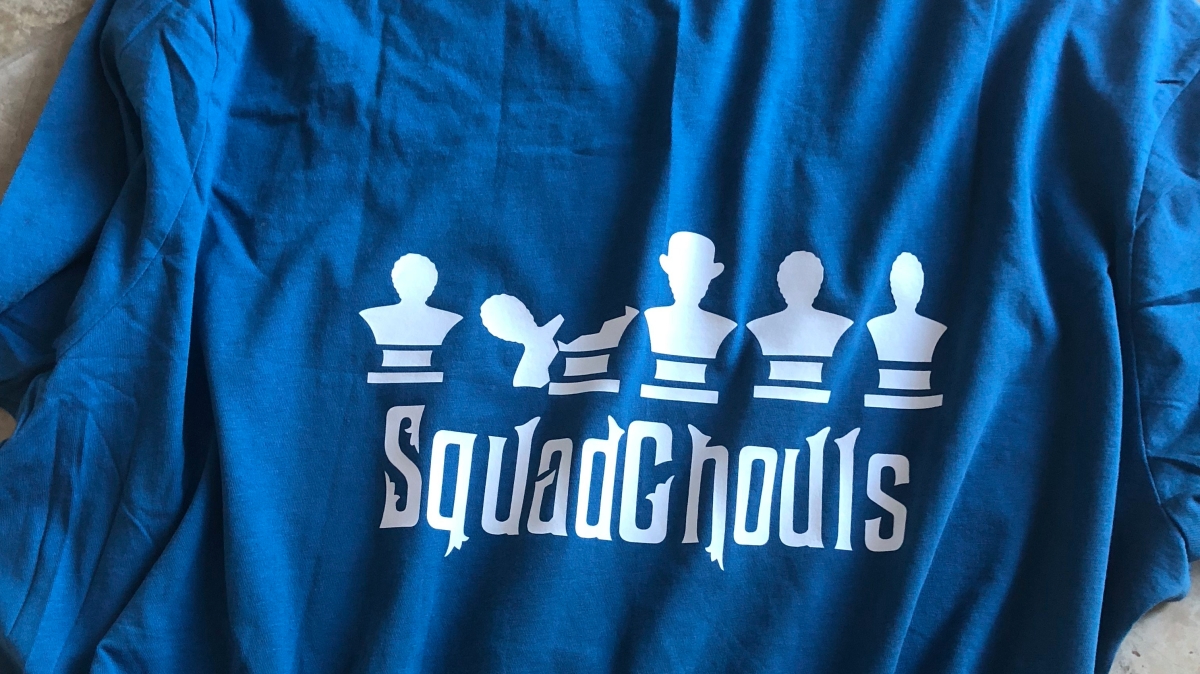
During our last trip to Disney World, I lovedall of the Squad Goals shirts we saw. I told Joe that I wanted to make him one. Every different one I saw, he said he would not wear. Toy Story – no, Mickey & Friends – no, Princess – NO. When we got home I started to brainstorm about his real loves. Once again, I went back to his time in New Orleans Square. I’d already made him the Pirates shirt so I turned to The Haunted Mansion. Those “Singing Busts” are a perfect squad!
My son is a closet Disney fanatic. He also says no to every shirt I come up with for him. When I showed him my mock-ups for this graphic. He said that “Squad Goals” was cute but they were ghosts, it should really say “Squad Ghouls”.
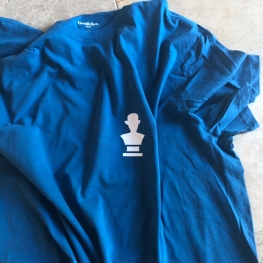
Finally I had a shirt he would wear, almost… He didn’t like it on the front. Big graphic on the back, small one on the front. I added Mr. Bowler Hat on the front. Perfect. Now he loves it.
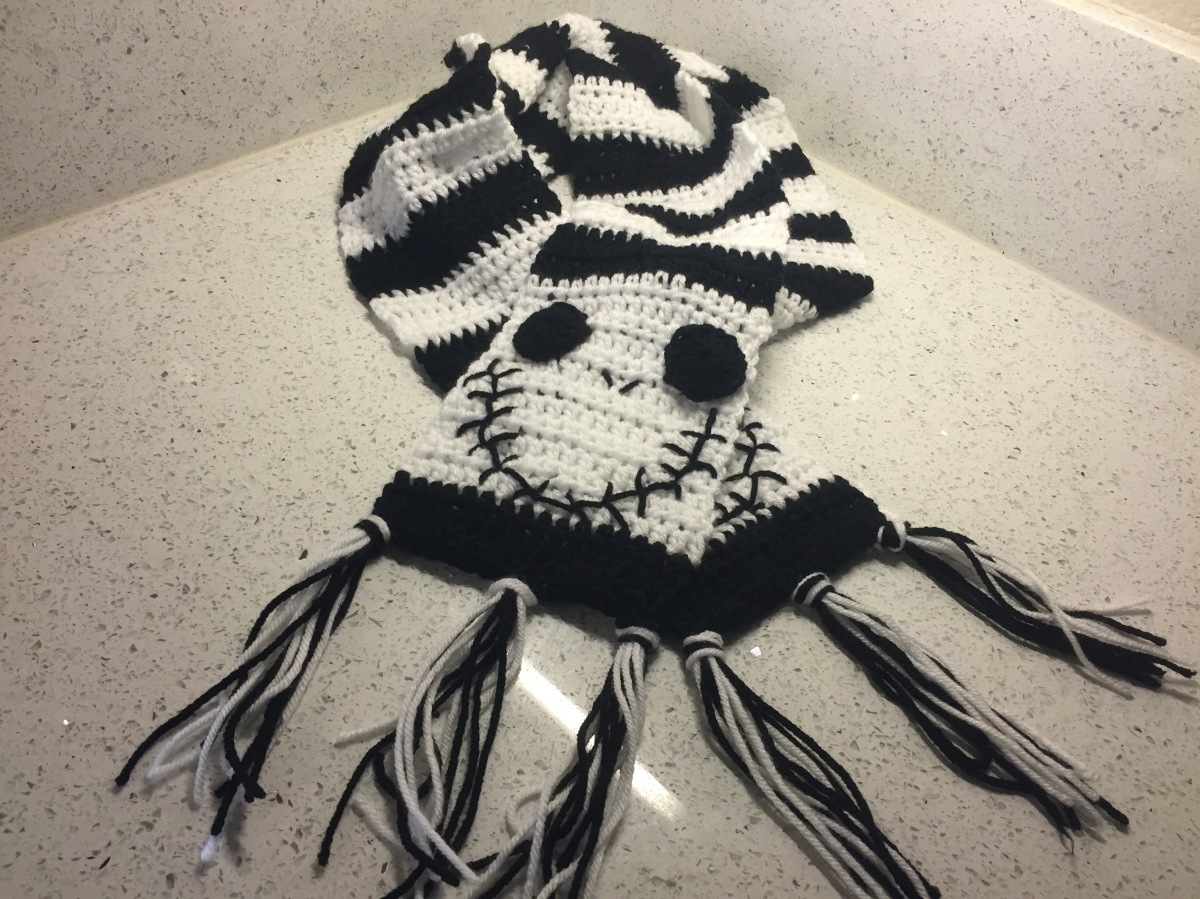
One of my first scarves, and still one of my most popular was this Jack Skellington, Nightmare Before Christmas scarf. It’s lots of fun and easy to do. Jack is a unique character and always looks different. This is what makes his face easy to replicate. Of course this scarf is only inspired by the real Jack Skellington!
Needed:
Less than one skein each of black and white Hobby Lobby I Love This Yarn
H Hook
Body:
Row 1: In black, ch 18. Hdc in 3rd ch from hook. Hdc in each ch across. (16 hdc)
Rows 2-3: Ch 2, hdc across (16 hdc)
Row 4: Change to white, ch 2, hdc across (16 hdc)
Rows 5-15: Ch 2, hdc across (16 hdc)
Row 16: Change to black, ch 2, hdc across (16 hdc)
Rows 17-18: Ch 2, hdc across (16 hdc)
Row 19: Change to white, ch 2, hdc across (16 hdc)
Row 20-21: Ch 2, hdc across (16 hdc)
Continue in this manner, in stripes of black and white, 3 rows of each color for a total of 39 stripes. You should end on another black stripe.
Row 133: Change to white, ch 2, hdc across (16 hdc)
Row 134-144: Ch 2, hdc across (16 hdc)
Row 145: Change to black, ch 2, hdc across (16 hdc)
Row 146: Ch 2, hdc across (16 hdc)
Row 147: Ch 2, hdc across, finish off. (16 hdc)
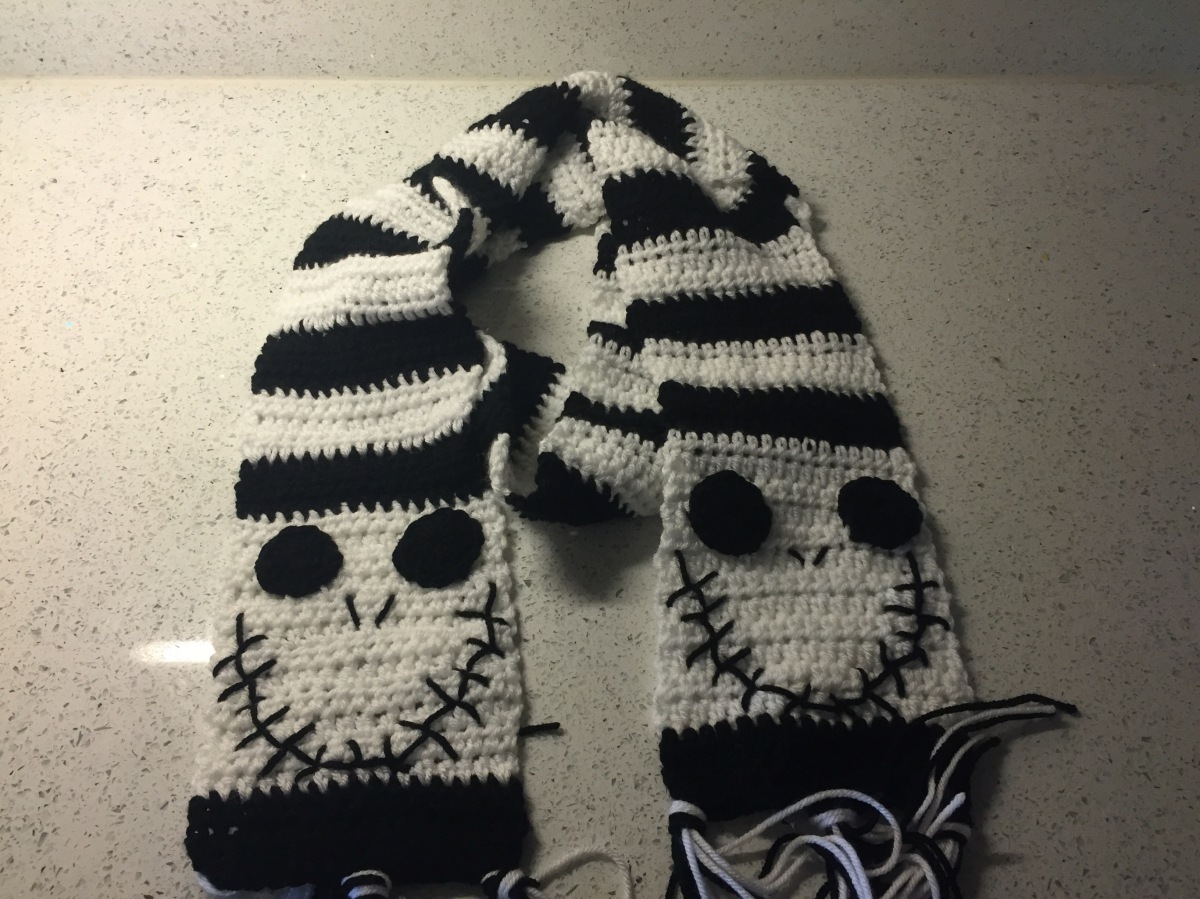
Faces:
Jack’s two faces
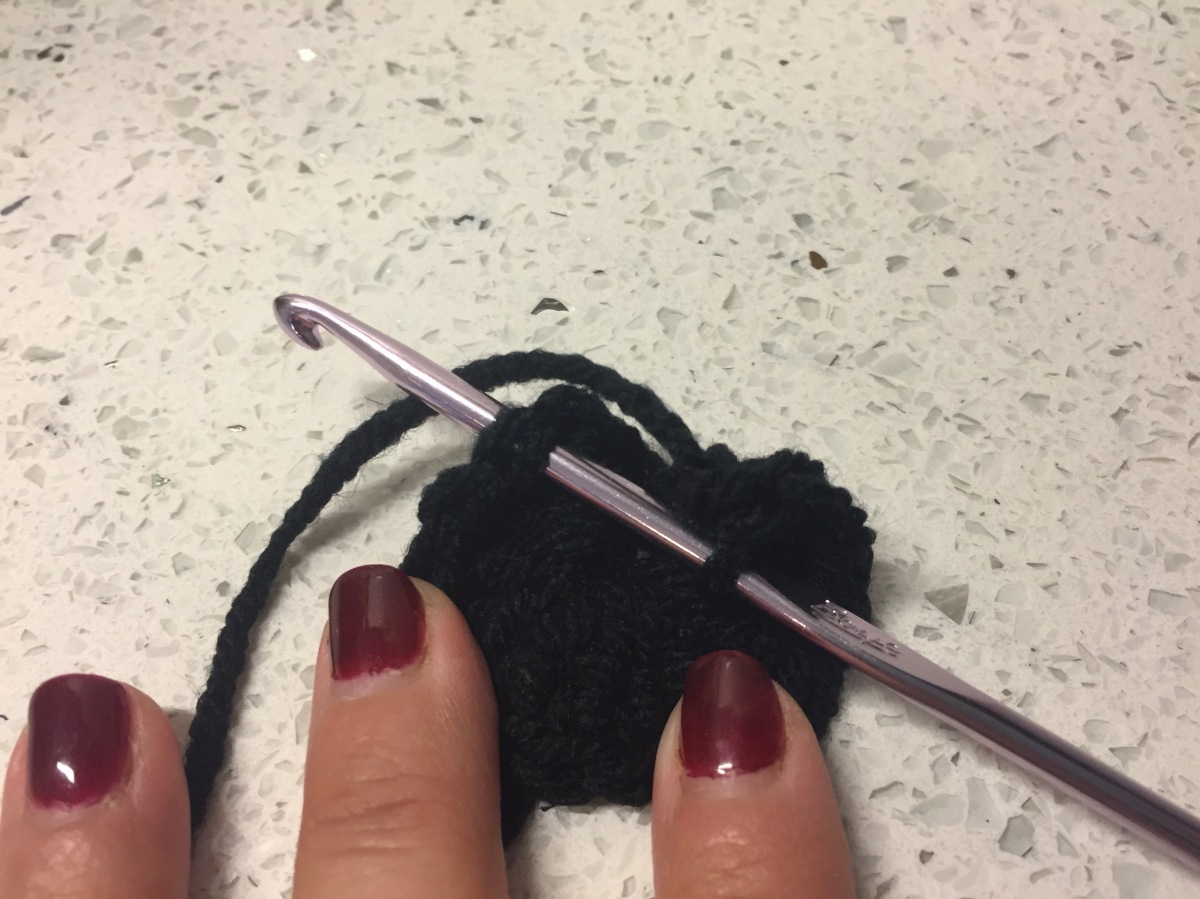
Make 4 eyes: With black, in a magic circle, ch 2, 13 dc. Close with a sl st in top of 1st dc.
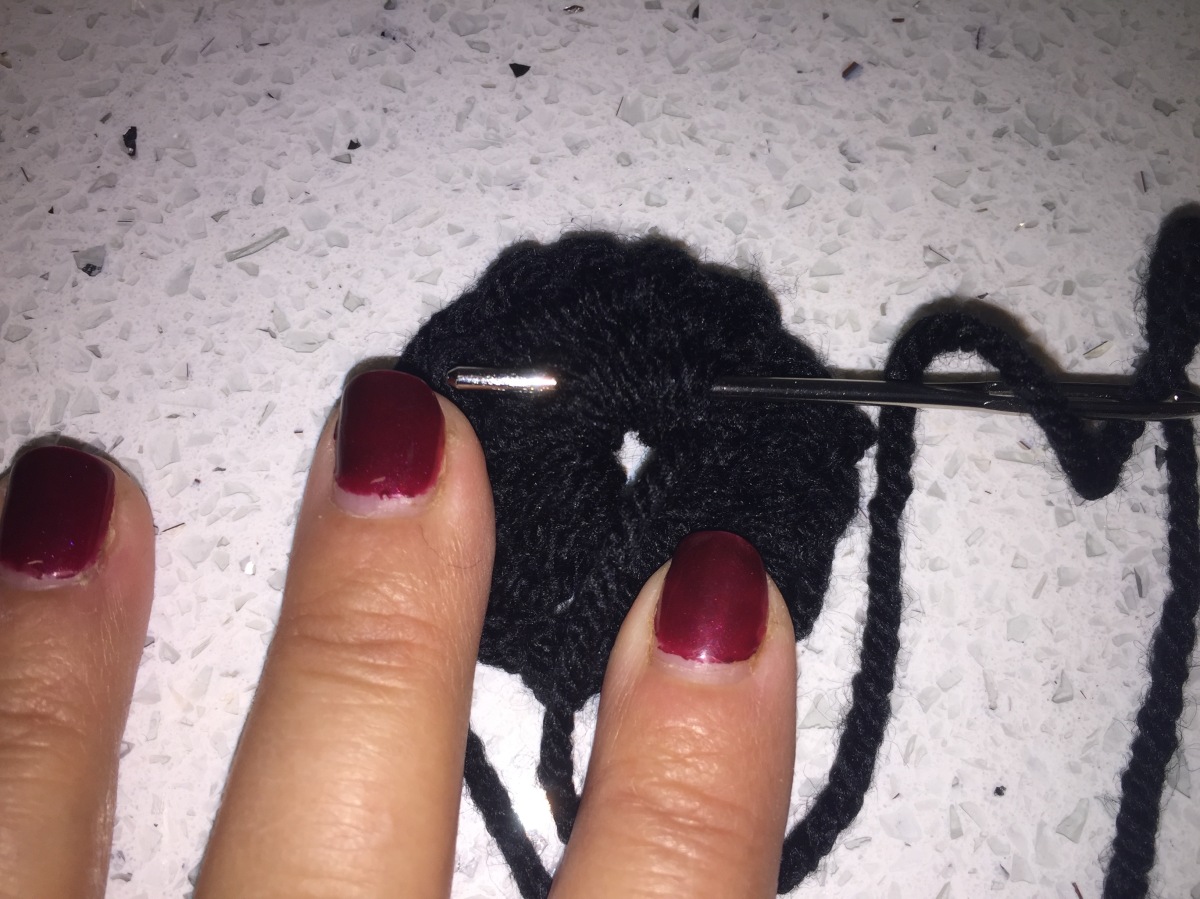
Leave a long tail for sewing on eye and making nose and mouth. Cinch your magic circle and tie a not in that tail to a dc.
Knotting the in the dc
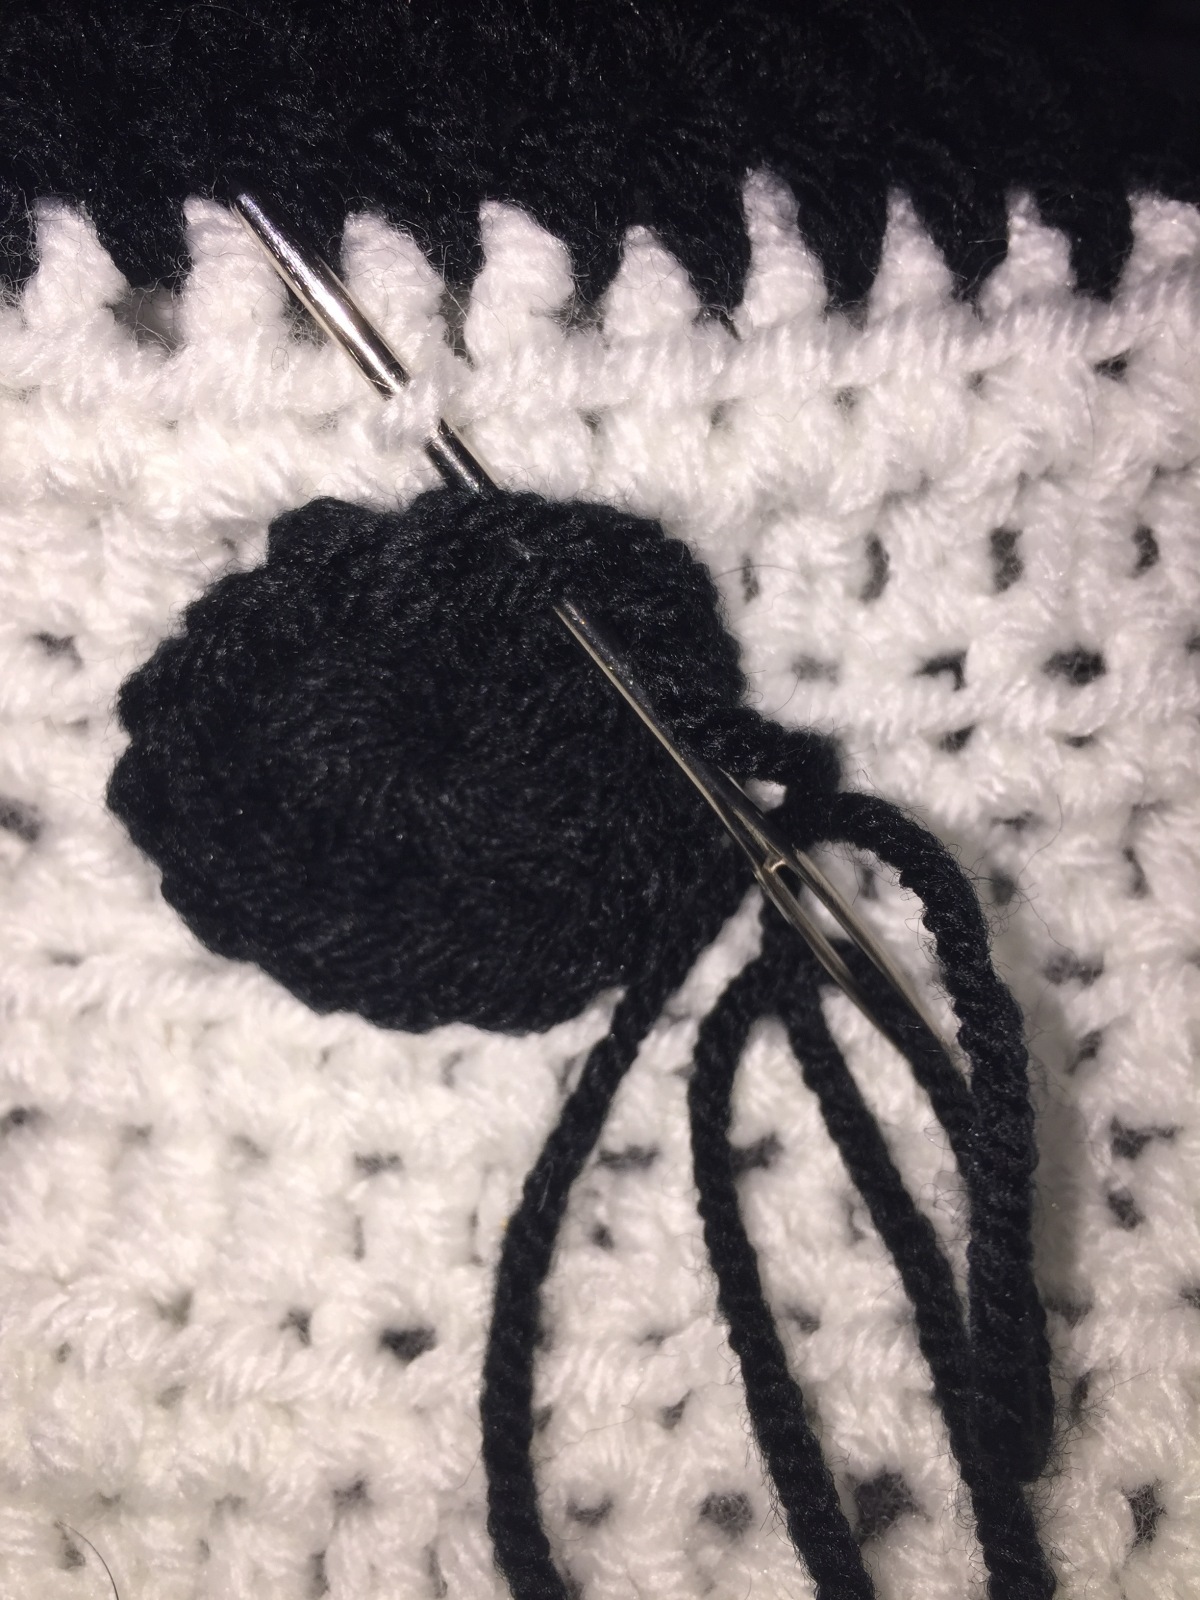
Sew 1st eye to the white block on the end.
Sewing on Jack’s Eye
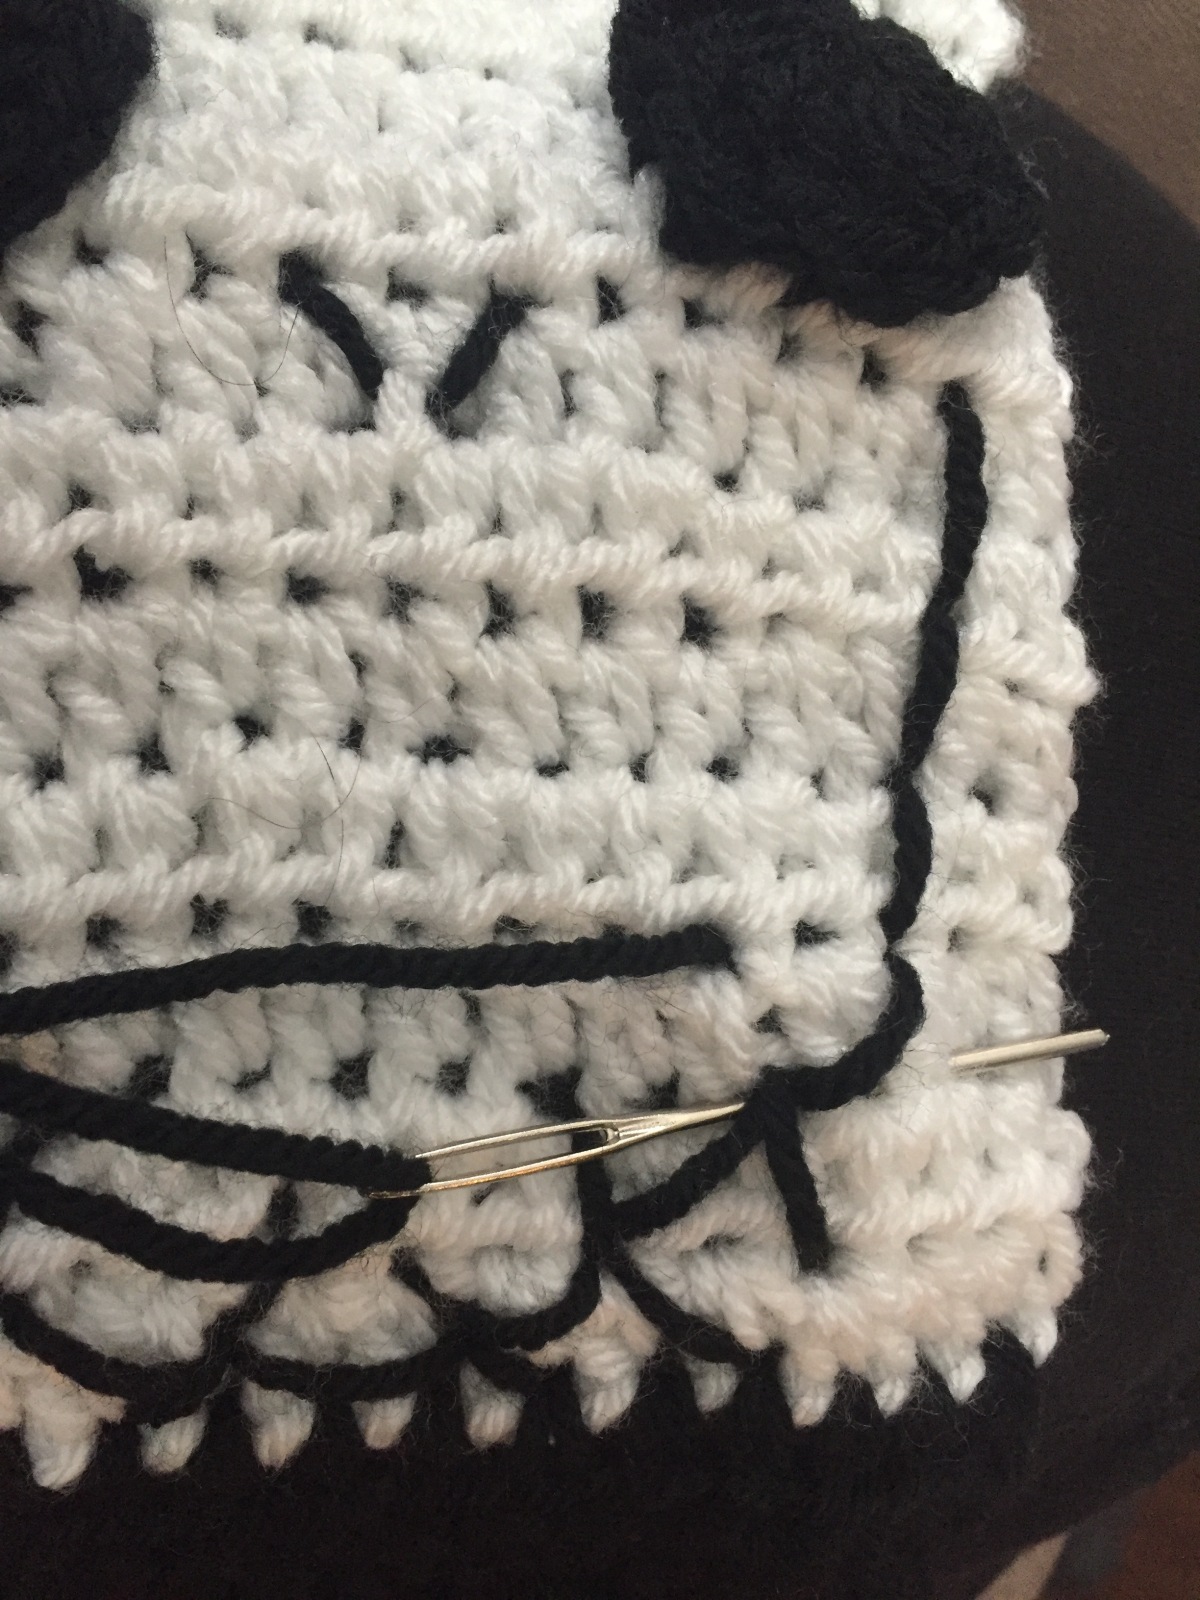
Use the tail of the first eye to make the nostrils.
Nostrils should not be parallel but they should be a little farther apart on the top than the bottom.
Use the extra long tail of the second eye to make his crooked smile. His smile is crossed as well. I make the entire smile and then go back to cross it.
Make sure you knot your tail to part of the back before you hide your ends otherwise one good pull and Jack’s smile is gone!
Repeat this process for the other end of the scarf. Be sure they are both on the side.
Fringe:
I make 3 groups of fringe on each end, 6 groups total. For each group, cut 3 lengths each of black and white yarn to 12″, 6 strands total for each group. Loop each group in half and attach to both ends of the scarf.